If you own a Volkswagen T-Roc with the 1.5L petrol engine (DPCA engine code), you might encounter an issue where the coolant level rapidly decreases and the engine fails to start. This problem isn't unique to the T-Roc, as the same engine is also used in various models from Audi, Volkswagen, Seat, and Skoda. However, in this article, I’ll be focusing specifically on the T-Roc, as I’ve personally handled the repair for this model. The same issue could apply to other vehicles with the same engine, so the information here can be useful for any vehicle with the DPCA engine.
Symptoms of the Fault
The main and most noticeable symptom of this fault is a significant drop in the coolant level over a short period of time. In the car I worked on, the owner had noticed the coolant warning light on the dashboard and had to top up the coolant several times. There are usually no visible external leaks around the radiator, hoses, or engine block, which makes the issue a bit confusing at first.
In some cases, the problem can also lead to the engine not starting, or it may crank but fail to fire up. Sometimes, you might also experience engine misfires, rough idling, or uneven running, especially during cold starts but these symptoms are not always present. In the particular Volkswagen T-Roc I worked on, the coolant level had been reducing for several days, yet the car ran perfectly fine with no misfires, rough running, or warning lights. Then, quite suddenly, the engine failed to start one morning. When checked for fault codes, no fault codes were present.
The Repair Process
The root cause of the problem is a leaking charge air cooler (intercooler). This component is essentially a heat exchanger that uses engine coolant to cool the hot air from the turbocharger before that air goes into the engine. For those who may not know, you can think of the intercooler simply as a small radiator designed specifically for the air itself. The failure happens when the internal structure of the cooler leaks. This allows pressurized coolant to escape directly into the path of the charged air. The coolant is then carried by the airflow, through the intake manifold, and finally gathers inside the combustion chambers.
To start the diagnosis, we first need to isolate the location of the leak. Use a pump to pressurize the coolant system from the expansion tank. While the system is pressurized, carefully inspect all hoses, the radiator, and the engine bay to verify the absence of any external leaks. If the pressure drops but you see no coolant escaping externally, this strongly indicates an an internal leak, meaning the coolant is going somewhere inside the engine. With an internal leak confirmed, you must then check for the physical presence of coolant inside the combustion process.
This confirmation can be achieved through a few methods. You can remove all spark plugs and inspect the tips for any residue or wetness that confirms coolant contamination. The photo below illustrates the condition of the spark plugs in my particular case.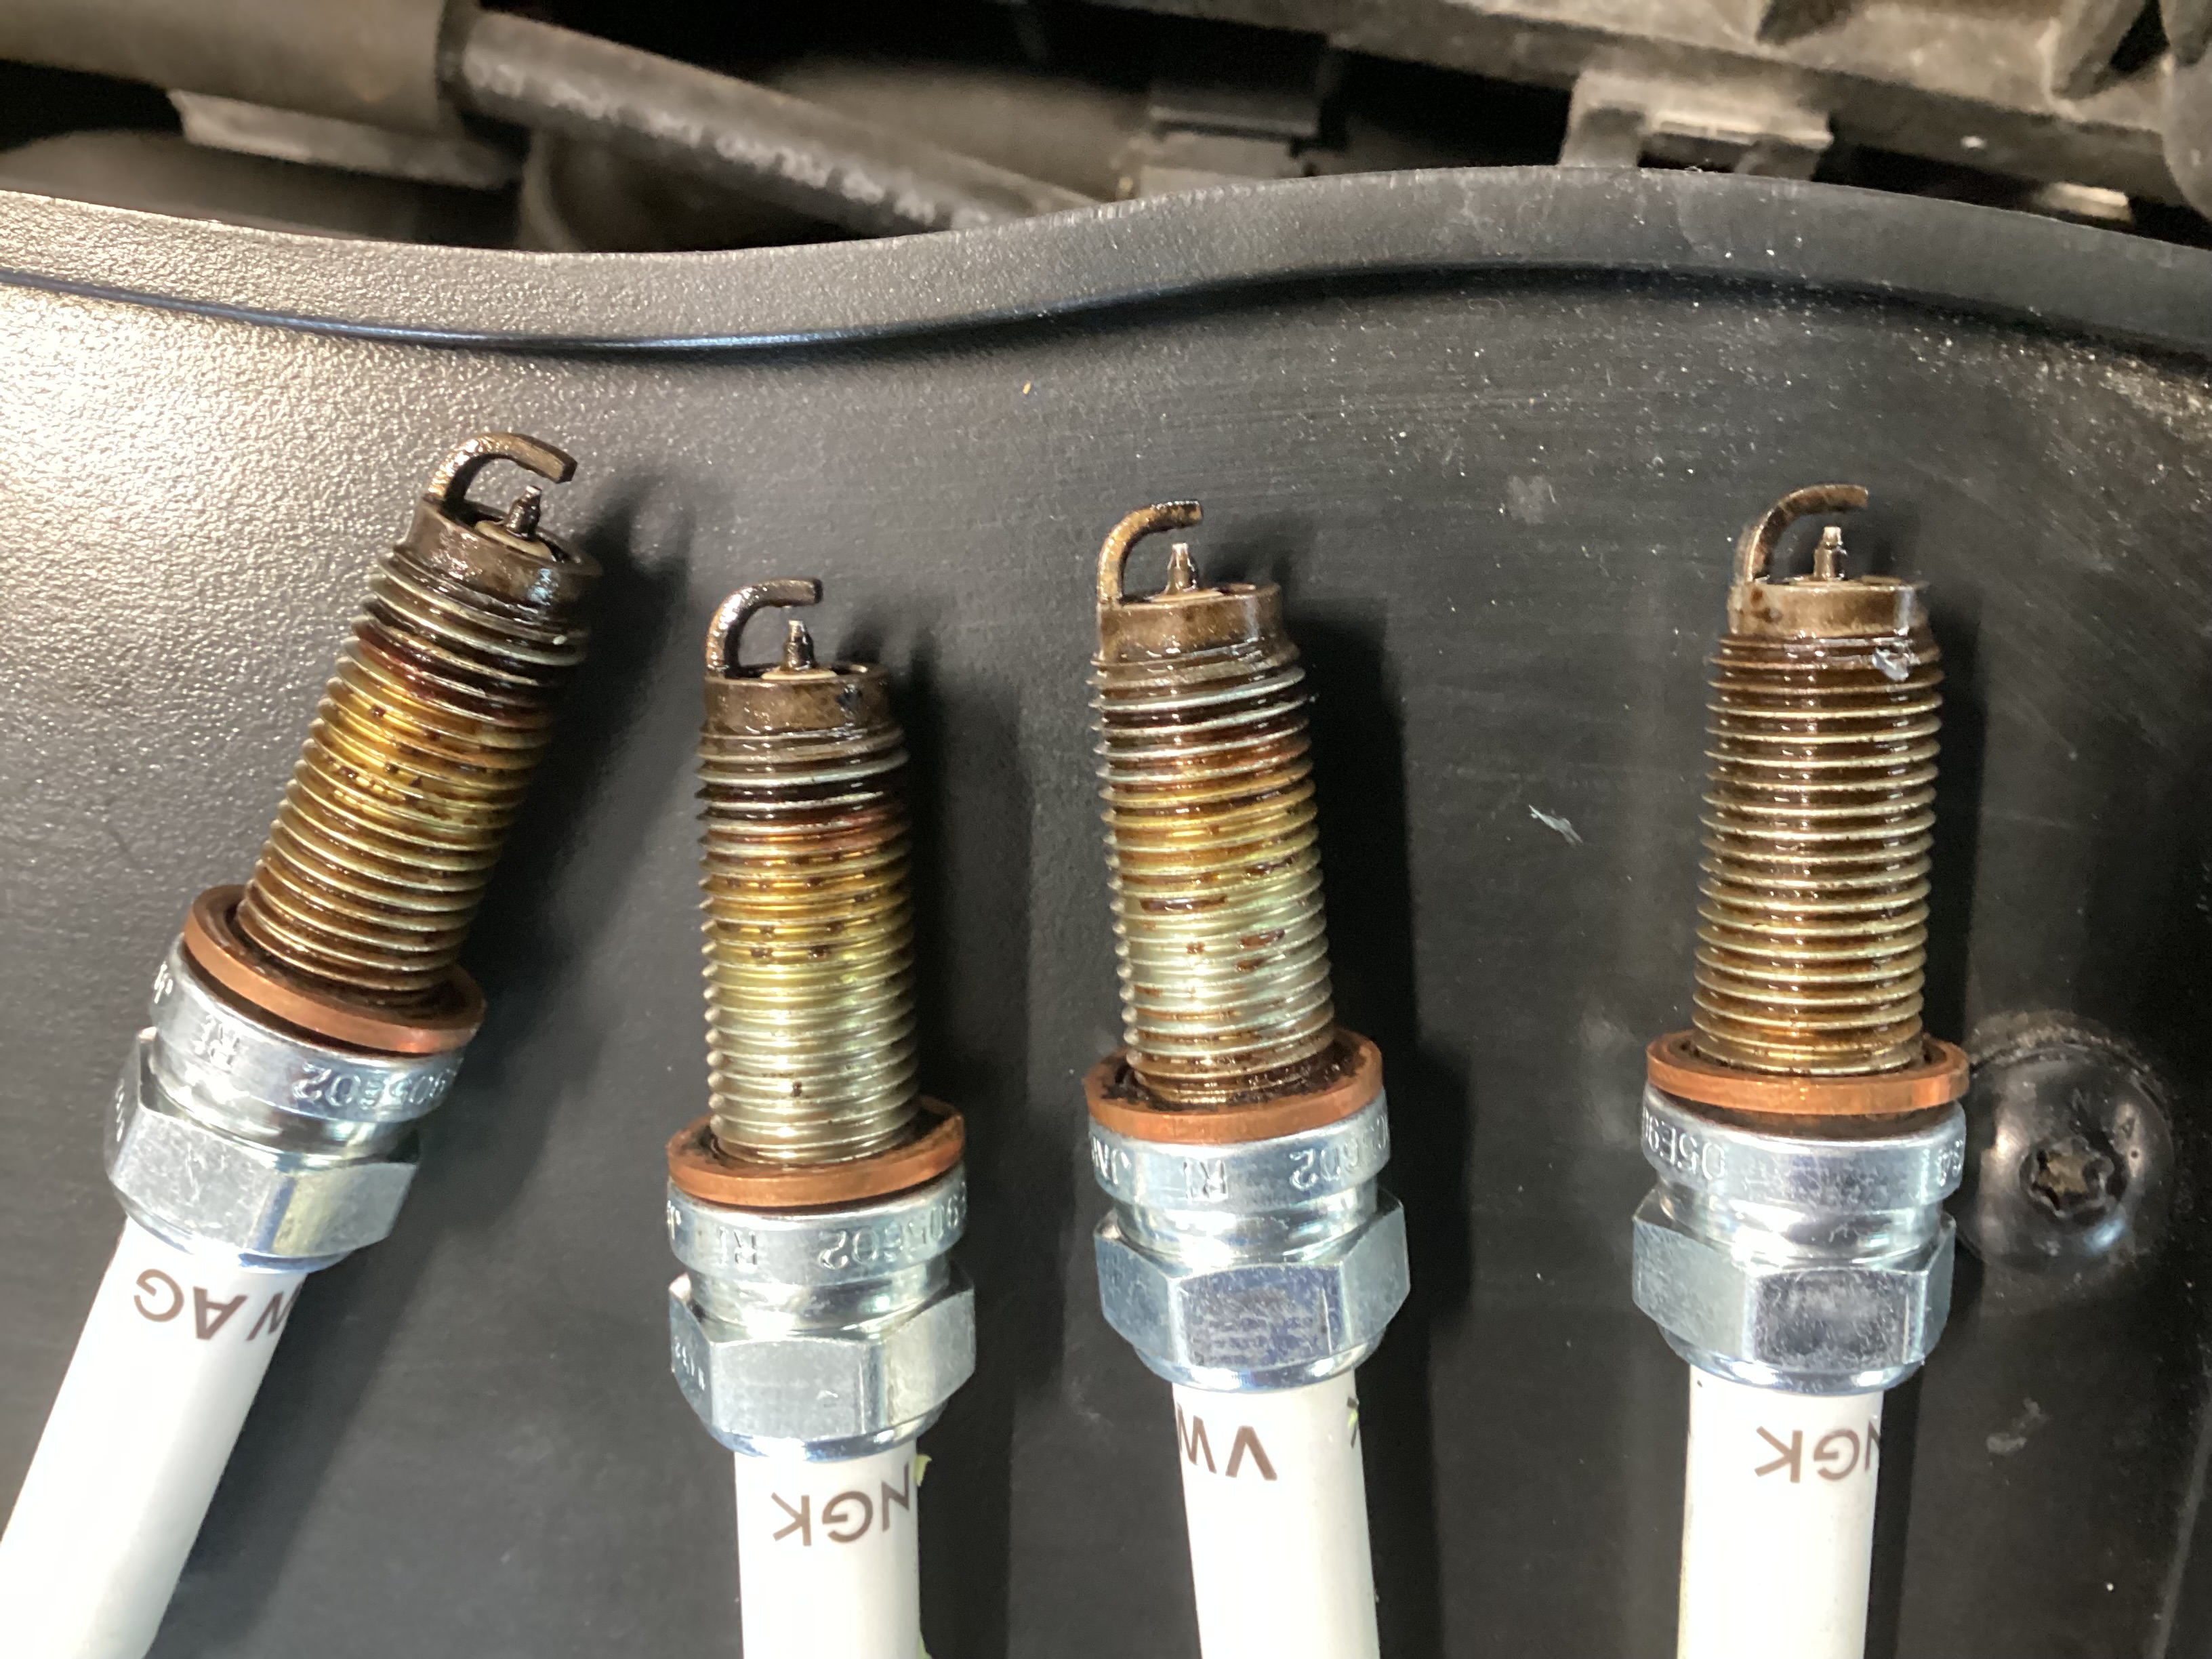
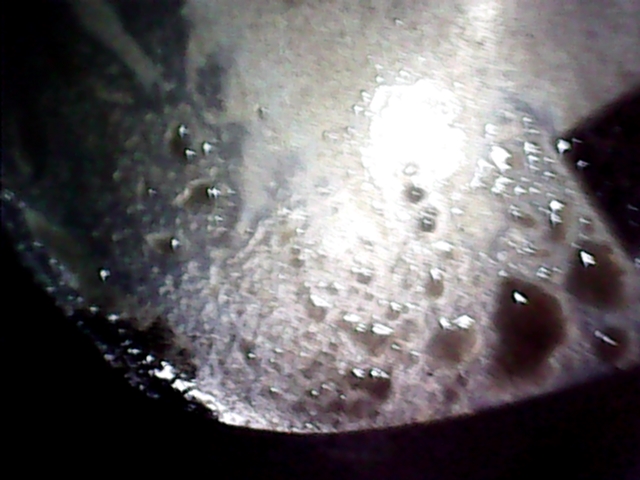
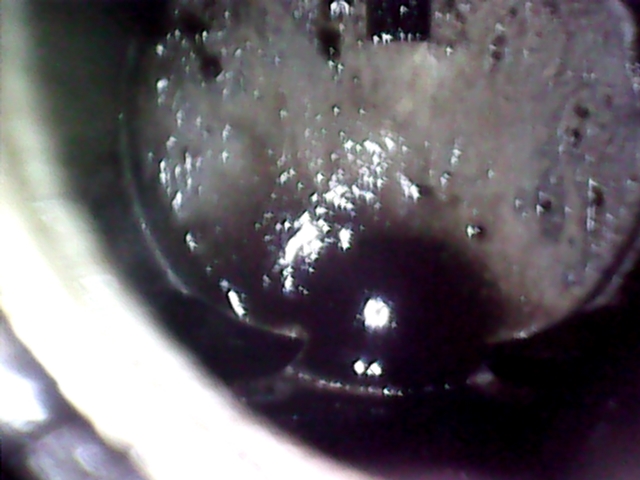
Alternatively, if an endoscope is available, you can insert it into the cylinders through the spark plug holes to visually check for coolant pooling on the piston tops inside the combustion chambers. This image shows coolant visible in the cylinder.
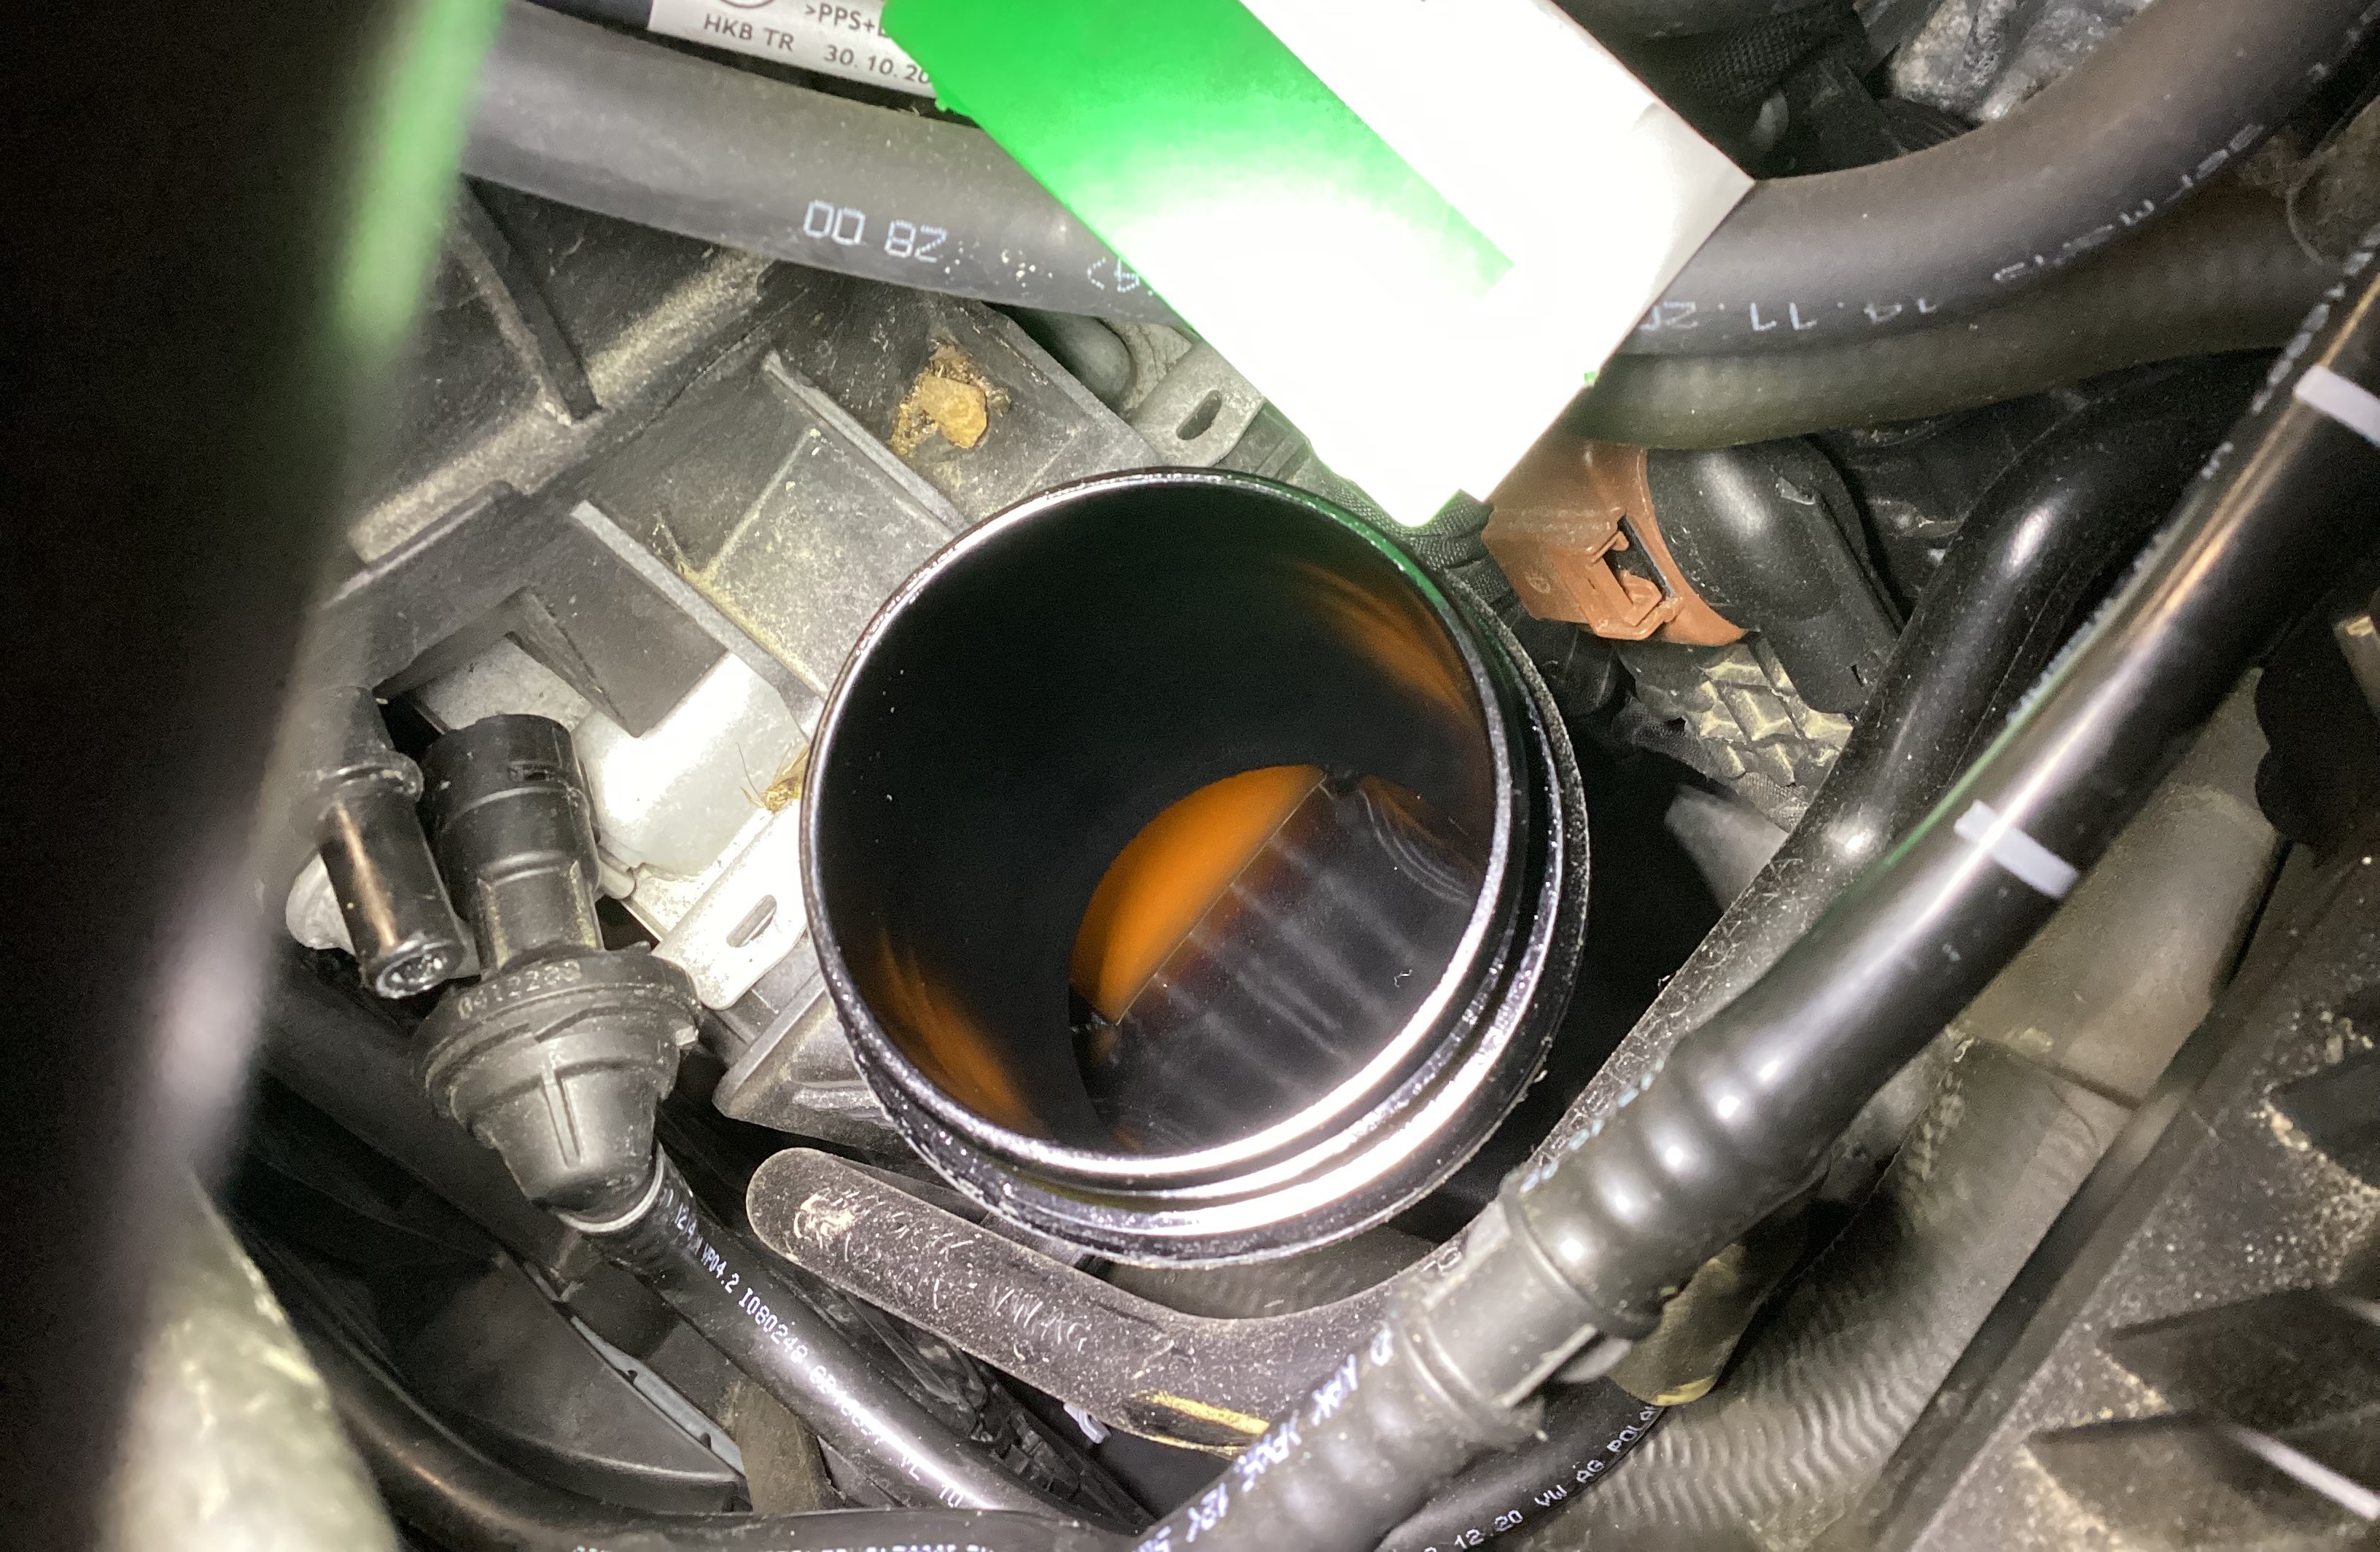
A third confirmation method involves removing the plastic intake pipe from the turbo to the cooler. Using a lamp inside the cooler may reveal visible leaking coolant on the charge air cooler fins. You can see an example of this in the following photo. This is a highly important confirmation.if you find leaking coolant here, you can definitively confirm the cooler is leaking.
Once confirmed, the solution is to replace the charge air cooler. This repair requires removing the intake manifold. When you remove the coolant hoses from the faulty cooler, be careful to prevent any remaining coolant from draining into the exposed intake ports. After installing the new cooler, refill the system and ensure you bleed the entire coolant system.